






























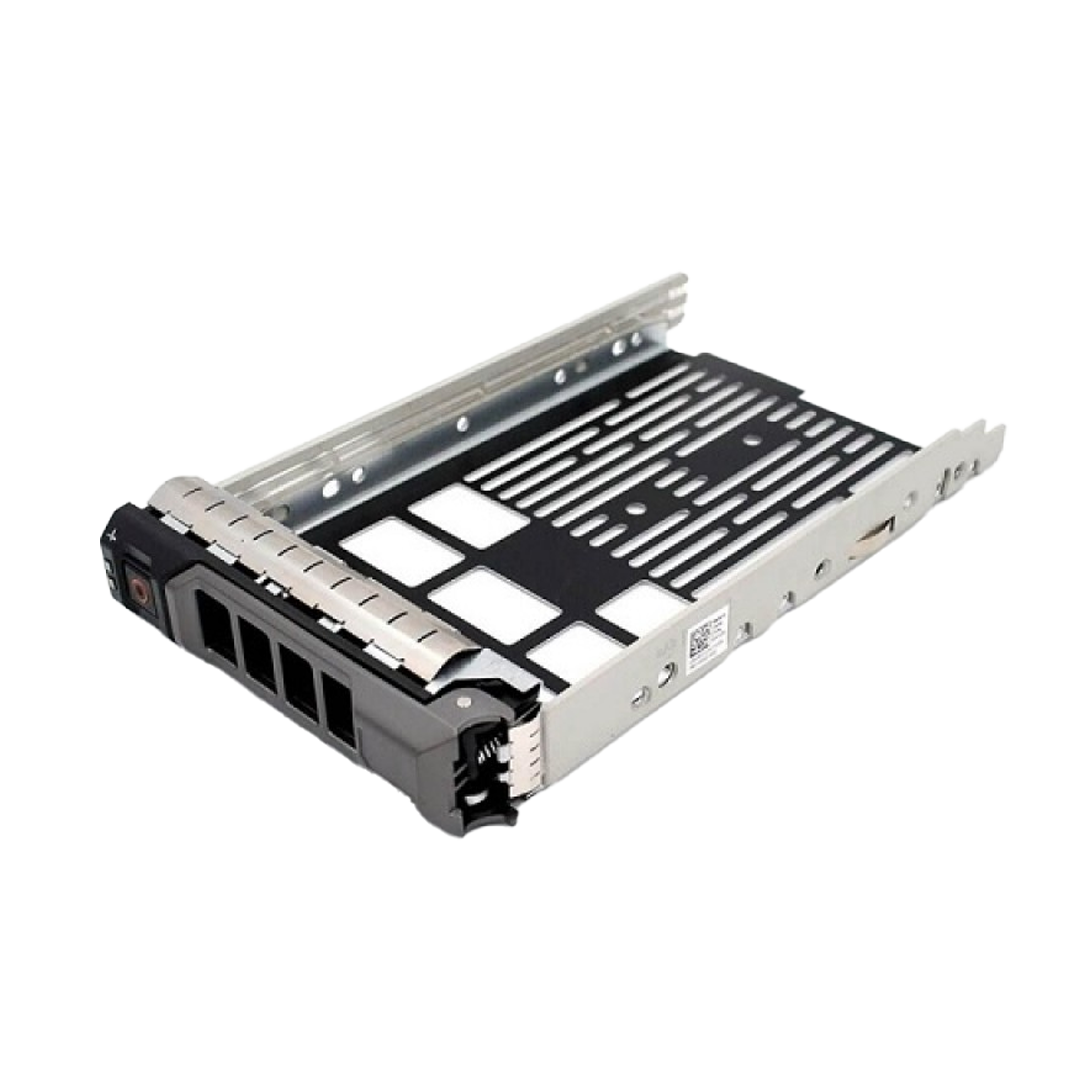
















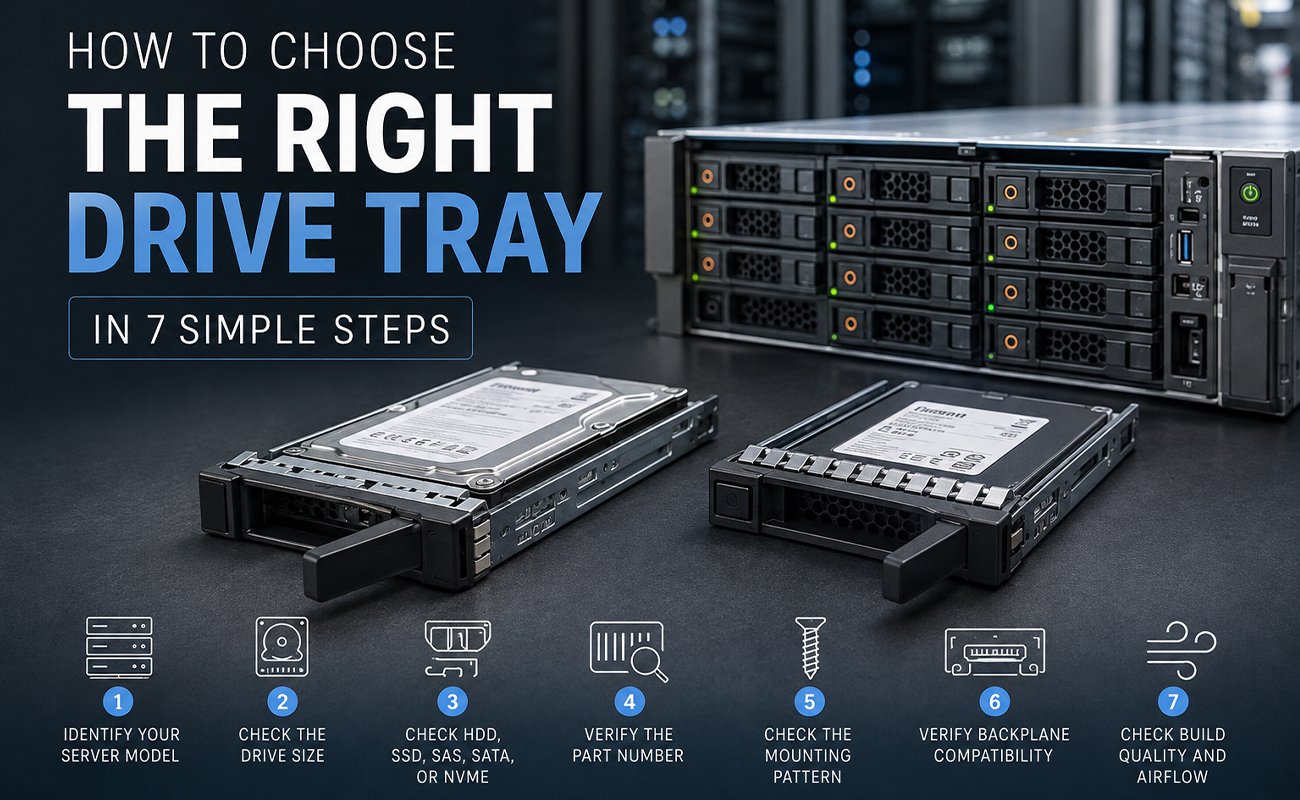
Choosing the right drive tray or caddy is important for proper drive installation, compatibility, airflow, and easy maintenance. The wrong tray may not fit the server correctly or align with the backplane.
What Is a Drive Tray?
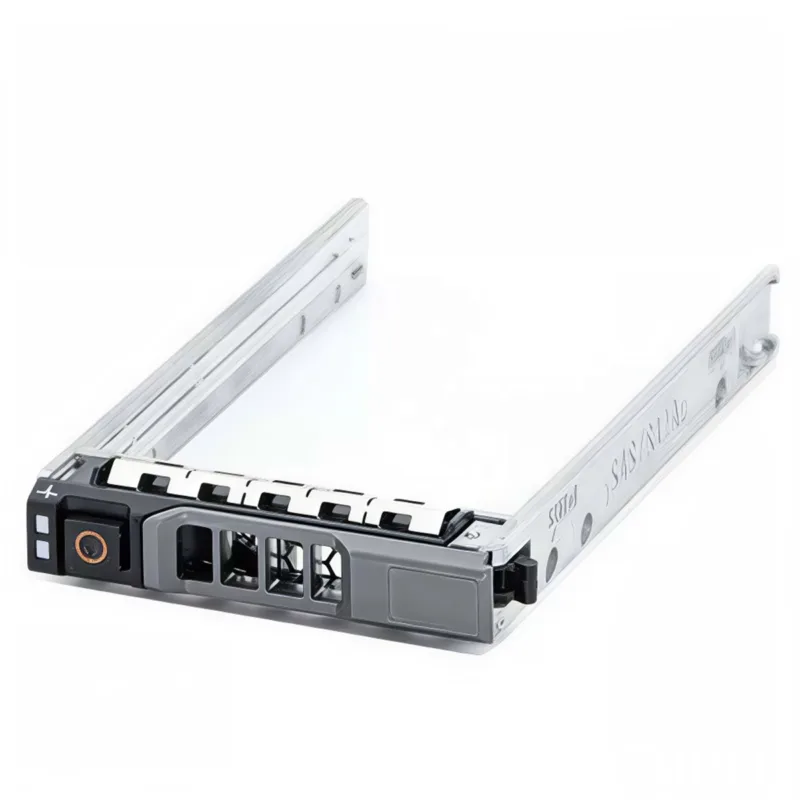
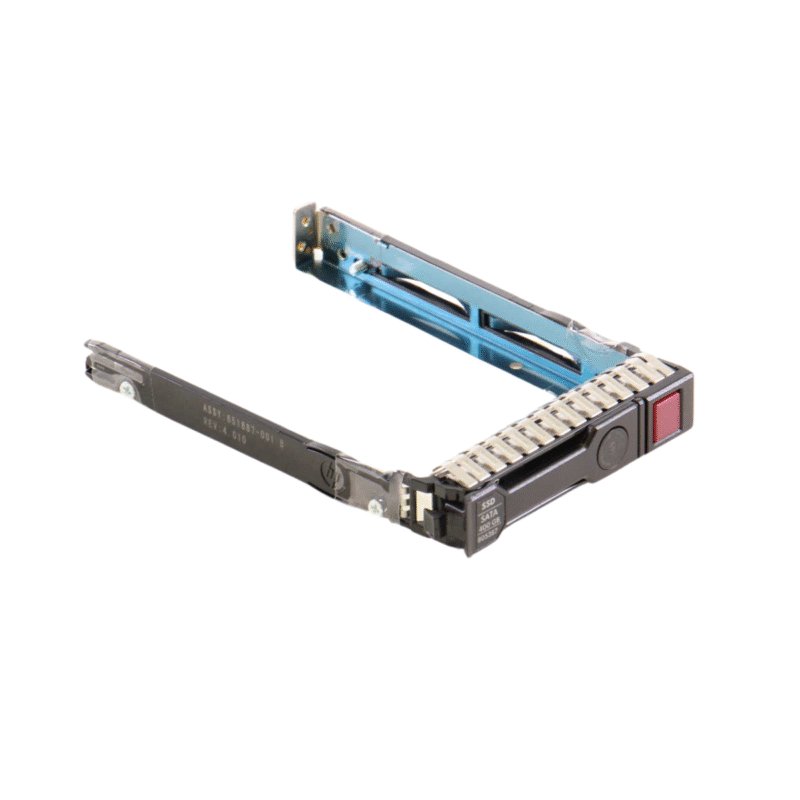
A drive tray is a carrier that securely holds an HDD or SSD and allows it to slide into a compatible server or storage enclosure.
A quality tray provides secure mounting, proper alignment, easy installation, and reliable airflow.
Why Is the Right Drive Tray Important?
The correct tray helps position the drive correctly inside the server and ensures proper connection with the backplane.

the wrong tray can cause poor fitment, connection problems, airflow issues, and difficult maintenance.
Step 1: Identify Your Server Model
Start by identifying the exact server or storage system where the tray will be installed.

Check the:
- Manufacturer
- Exact model
- Server generation
- Chassis type
For example, Dell PowerEdge R740xd is much more useful than simply searching for “Dell server.”
Step 2: Check the Drive Size
Determine whether your drive is 2.5-inch SFF or 3.5-inch LFF.

2.5-Inch / SFF
Commonly used for SSDs and high-density servers.
3.5-Inch / LFF
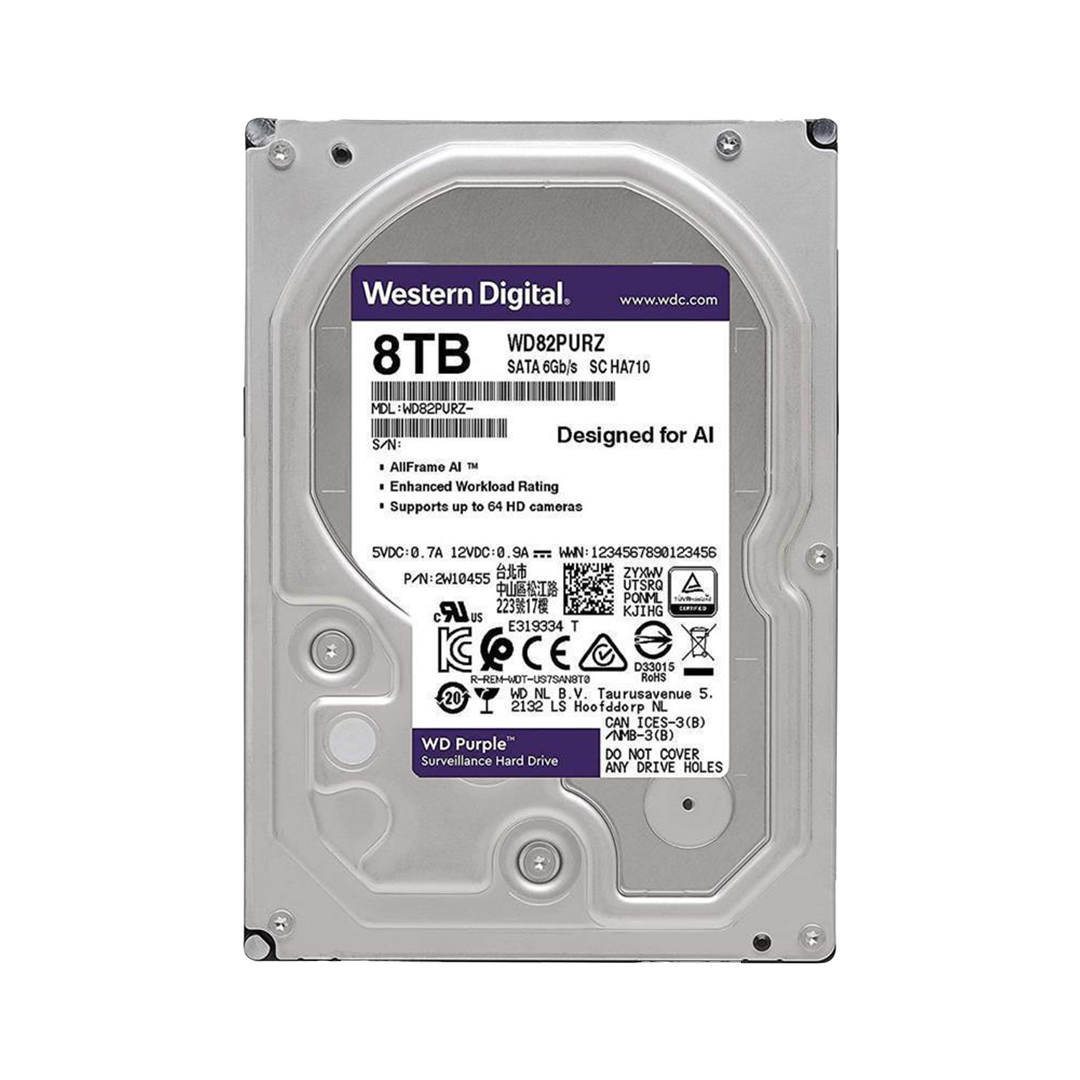
Commonly used for high-capacity HDD storage.
The tray must match the server bay and drive form factor.
Step 3: Check the Drive Type
Identify whether you are installing an:

Also verify the server backplane and storage controller. A tray can fit physically while the installed drive may still be incompatible with the system.
Step 4: Verify the Part Number
Checking the original tray’s part number is one of the safest ways to find a compatible replacement.
The part number may be found:
- On the tray
- On a label
- In server documentation
Searching by the exact part number is usually more accurate than searching only by brand.
Step 5: Check the Mounting Pattern
The drive needs to be securely attached to the tray before installation.
Check:
- Screw-hole positions
- Drive orientation
- Mounting hardware
- Tray dimensions
A properly mounted drive should remain stable during installation and operation.
Step 6: Verify Backplane Compatibility
The tray positions the drive so it can connect correctly to the server’s backplane.
Drive + Tray + Backplane + Controller
Common interfaces include:
- SATA
- SAS
- NVMe
A tray fitting physically does not automatically mean that the drive will work.
Step 7: Check Build Quality and Airflow
Choose a tray with durable construction, a secure latch, proper alignment, and adequate ventilation.
- Proper airflow
- Secure drive installation
- Stable operation
- Easy maintenance
Avoid damaged, bent, or poorly fitting trays.
2.5-Inch vs 3.5-Inch Drive Trays
Understanding the difference between SFF and LFF helps prevent purchasing mistakes.
| Feature | 2.5-Inch / SFF | 3.5-Inch / LFF |
|---|---|---|
| Size | Smaller | Larger |
| Common Use | SSD / High-Density Storage | High-Capacity HDD |
| Typical Environment | Performance Servers | Capacity Storage |
| Tray Type | SFF Carrier | LFF Carrier |
Common Drive Tray Mistakes
Avoid these common mistakes:
Buying only by drive size: The server model still matters.
Ignoring server generation: Different generations may use different carrier designs.
Not checking the part number: Similar-looking trays may have different compatibility.
Ignoring the backplane: The drive and controller must support the selected interface.
Quick Buying Checklist
Before ordering a drive tray, confirm:
- Server manufacturer
Exact server model
- Server generation
- 2.5-inch or 3.5-inch drive
- HDD or SSD
- SAS, SATA, or NVMe
- Tray part number
- Mounting pattern
- Backplane compatibility
When Should You Replace a Drive Tray?
A drive tray does not necessarily need to be replaced whenever a hard drive or SSD is replaced.
However, replacement may be appropriate when the tray is:
- Cracked
- Bent
- Missing screws
- Damaged at the latch
- Difficult to insert or remove
- No longer compatible with the upgraded drive
A damaged tray should not be ignored because poor mounting can create unnecessary mechanical or installation problems.
Before reusing an older carrier, inspect it carefully and make sure it still provides a secure fit.
Why Drive Trays Matter for Long-Term IT Planning
A reliable storage infrastructure is built from many small components working together.
Drive trays may not affect storage capacity or processing speed directly, but they contribute to:
- Proper installation
- Easier maintenance
- Better organization
- Faster replacements
- Consistent server configurations
For businesses planning long-term infrastructure growth, standardizing compatible trays across similar server models can simplify procurement and reduce maintenance complexity.
Final Buying Advice
When selecting a drive tray, avoid relying on appearance alone. Two carriers can look almost identical but have different compatibility requirements.
The safest approach is to verify the exact server model, generation, drive form factor, interface, and tray part number before purchasing.
A few minutes of compatibility checking can prevent unnecessary returns, installation problems, and downtime.
The right drive tray is a small investment that helps keep your entire storage system working correctly.
Shop now
Sold out

Sold out
Sold out

Sold out
Sold out
Sold out
Related posts

VPN Firewall vs Standard Firewall: 7 Key Differences

Businesses need reliable network security to protect sensitive information, prevent unauthorized access, and maintain secure commu...
Rack Server vs Tower Server: 6 Key Differences Explained

Rack Server vs Tower Server: 6 Key Differences Explained
Choosing between a rack server and a tower server is an important decisi...
SSD vs HDD Storage: 8 Key Differences Every Business Should Know
SSD vs HDD Storage: 8 Key Differences Every Business Should Know
Choosing the right storage technology is essential for businesse...

Router Performance Explained: 7 Factors That Affect Your Internet Speed

Router performance plays a critical role in determining how efficiently a business network handles daily operations. From cloud-ba...

10 Router Security Features That Help Protect Business Networks
Business networks are constantly exposed to security risks, from unauthorized access and malicious traffic to compromised devices ...

Stateful Firewall vs Next-Generation Firewall: 8 Major Differences
Firewalls play a critical role in protecting business networks from unauthorized access, suspicious traffic, and cyber threats. Ho...

7 Firewall NGFW Types Compared for Business Network Security
Choosing the right NGFW firewall is an important part of protecting business networks fro...

11 Server Features Every IT Manager Should Look For
11 Server Features Every IT Manager Should Look For
Choosing the right server is an important decision for any organization. Serv...
Best RAM Options for Performance Workstations
Best RAM Options for Performance Workstations
Modern performance workstations are built for demanding workloads such as 3D render...

Dual-WAN vs Single-WAN Routers: 6 Key Differences Compared
Modern businesses rely heavily on stable Internet connectivity for cloud applications, communication, online platforms, remote acc...
Wi-Fi Router vs Wired Router: 8 Differences Every Business Should Know
Choosing the right networking equipment is an important decision for any business. As organizations become increasingly dependent ...

Storage Buying Guide: 7 Things to Consider Before You Choose
Storage Buying Guide: 7 Things to Consider Before You Choose
Modern businesses generate and manage large amounts of data every da...
